How to install a travel eSIM on Android
Install a travel eSIM on Pixel, Samsung Galaxy, and other Android phones, then set the correct mobile-data, roaming, and SIM preferences.
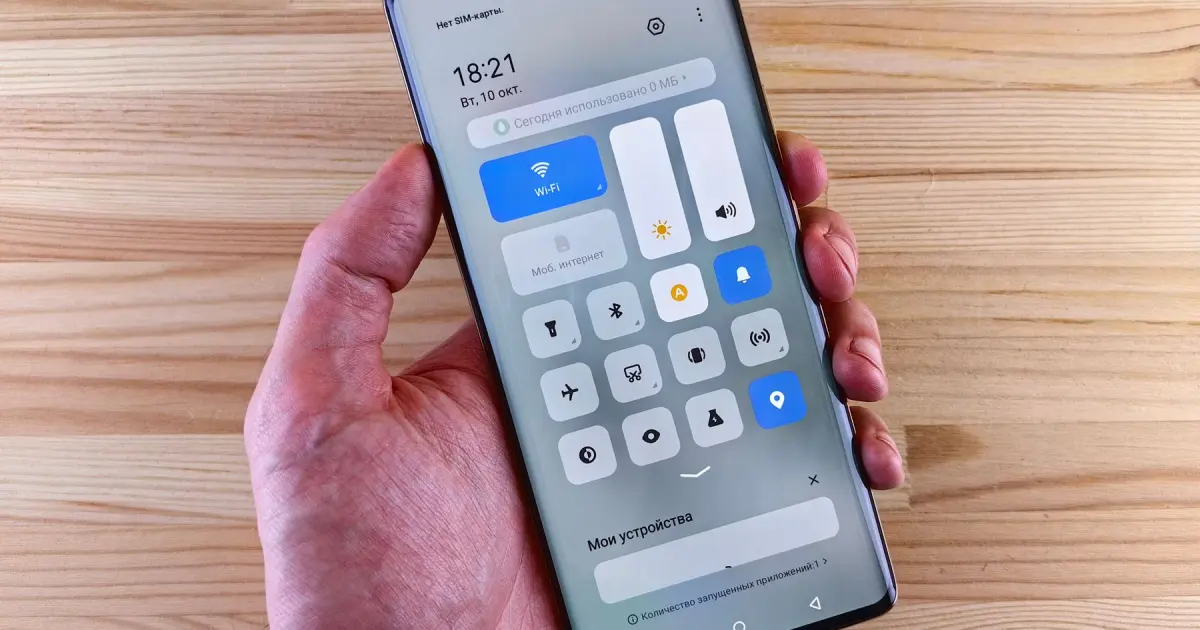
Android eSIM installation usually starts in the SIM or mobile-network section of Settings. On a Pixel, the current path is Settings > Network & internet > SIMs > Add SIM > Set up an eSIM. On a Samsung Galaxy, use Settings > Connections > SIM manager > Add eSIM. Other manufacturers use different names, but the provider's QR code or activation details work through the same basic download process.
Do not follow Pixel steps word for word on every Android phone. Menu names, dual-SIM controls, and data-roaming behavior vary by brand and software version.
Prepare the phone and the plan
Before installation, confirm:
- The exact model and regional variant support eSIM.
- The phone is unlocked for another carrier or service provider.
- The phone has a stable Wi-Fi connection and enough battery.
- The operating system is current enough for the provider's setup method.
- The QR code, app, or manual activation details are available.
- The package activation policy says when validity begins.
Use the compatibility checklist if the eSIM menu is missing. A model family may support eSIM in one sales region and omit it in another.
Install on a Google Pixel
Google's current Settings flow is:
- Open Settings.
- Tap Network & internet.
- Tap SIMs, then Add SIM.
- Tap Set up an eSIM.
- Scan the provider's QR code or follow the onscreen carrier flow.
- Give the new line a label that identifies the destination or provider.
During initial phone setup, a Pixel may show Download SIM and Set up instead. If the eSIM is not detected automatically, the carrier or travel provider may need to activate its side first. Google advises contacting the operator when a persistent setup error remains.
Install on a Samsung Galaxy
Samsung supports automatic carrier discovery, QR code, and manual activation on compatible Galaxy devices. For a QR code:
- Open Settings > Connections > SIM manager.
- Tap Add eSIM.
- Tap Scan QR code.
- Scan the code supplied by the provider.
- Follow the download and activation prompts.
- Restart if the phone or provider instructions request it.
If Samsung finds a preassigned plan after you tap Add eSIM, review the carrier name before accepting it. A manual activation-code option may also appear, depending on the software version and provider.
Install on another Android phone
Search Settings for eSIM, SIMs, SIM manager, mobile plan, or mobile network. Common paths include:
- Settings > Network & internet > SIMs
- Settings > Connections > SIM manager
- Settings > Mobile network > SIM management
Use the device manufacturer's current instructions for the final menu path. A reseller's generic Android tutorial may be several versions behind. If the manufacturer does not list the exact model as eSIM-compatible, stop before buying.
Select the eSIM for mobile data
Once the profile appears in SIM settings:
- Turn the travel eSIM on when the provider says it is ready to connect.
- Select it as the preferred SIM for mobile data.
- Turn automatic or backup data switching off if you do not want the phone to use the home SIM when the travel line loses signal.
- Enable data roaming for the travel eSIM when the provider requires it.
- Keep roaming off, or the whole home line off, if the Android version cannot apply roaming controls separately and the home plan could incur charges.
Some Android phones apply data roaming to a selected SIM; others expose a broader control. Read the labels on the device instead of assuming the setting matches a different brand.
Travel eSIMs often need roaming enabled because the profile registers on partner networks. That setting does not charge the home carrier when the travel eSIM is the selected line. The risk returns if the phone switches data to the home SIM, so check both the preferred data line and automatic switching.
Check the APN and network instructions
Many profiles configure the Access Point Name automatically. If the provider supplies an APN, compare it character by character with the entry under the travel eSIM's access-point settings. Leave username, password, authentication type, or other fields empty unless the provider specifies them.
Automatic network selection is normally the first choice. If the eSIM has signal bars but no data, or cannot register, consult the provider's supported-network list before selecting a network manually. Choosing an unrelated network can leave the phone connected to a name it cannot use for data.
Install before the trip without wasting validity
Installing at home is convenient because support and reliable Wi-Fi are available. It is sensible when validity starts at the first connection in the destination. If validity starts as soon as the profile is installed, wait until the departure date is close enough.
Installation and activation are separate states. A profile can be present in SIM manager while a package remains inactive until it reaches its coverage area. Do not keep reinstalling a profile merely because it does not connect at home.
Test on arrival
At the destination:
- Turn on the travel eSIM.
- Confirm it is selected for mobile data.
- Apply the required roaming setting.
- Turn Wi-Fi off briefly.
- Open a small webpage or map search.
- Check that the data counter moves on the travel line, not the home line.
If the test fails, use the activation troubleshooting guide. Start with plan status, coverage, line selection, roaming, and APN. Then try Airplane Mode, a restart, and the provider's listed partner network.
Once data works, review hotspot and tethering rules before connecting a laptop. Android may expose a hotspot button even when the package limits tethering or applies a separate fair-use rule.
Sources
Updated
- 1Set up a new eSIM
Google Pixel Help · Accessed
- A Pixel eSIM can be added during onboarding or later from the Settings app.
- The current Pixel settings path uses Network and internet, SIMs, Add SIM, and Set up an eSIM.
- 2SIM cards for your Galaxy phone or tablet
Samsung Support · Accessed
- Compatible Galaxy devices can add an eSIM by scanning a carrier QR code.
- Samsung's current path uses Settings, Connections, SIM manager, and Add eSIM.
- 3Fixing eSIM Connectivity Problems
Nomad Help Center · Accessed
- Nomad instructs Android users to turn on the eSIM, select it for mobile data, and enable data roaming when connecting.
- Nomad's current troubleshooting flow checks APN settings and manual partner-network selection.
Directory
Related profiles
Saily
Saily sells local, regional, and global eSIM plans and adds app tools for web protection, ad blocking, and virtual location. It covers more than 200 destinations and offers 24-hour support. Network, 5G, hotspot, and phone-number details vary by plan and may only appear in the app.
- Updated
- 20 July 2026
Holafly
Holafly mainly sells unlimited-data eSIMs for countries and regions, along with a global subscription. Its Japan page shows trip length and price, but hotspot and speed limits depend on the plan. Refund requests can be made within six months if the plan meets the policy rules.
- Updated
- 18 July 2026
Nomad
Nomad sells local, regional, and global travel eSIMs, including fixed-data and unlimited plans. Its Japan page lists the network, price, data, validity, 4G or 5G support, and hotspot use. Refunds are simpler before a plan is installed or activated.
- Updated
- 18 July 2026
Continue reading
More guides

Do travel eSIMs come with a phone number?
Some travel eSIMs include a phone number and mobile calls or texts, while data-only plans rely on internet calling and messaging apps.
Read article
When should you install and activate a travel eSIM?
Install a travel eSIM before departure only after checking when its validity begins, then connect it at your destination with the correct settings.
Read article
Can you use a hotspot with a travel eSIM?
Check whether a travel eSIM allows hotspot use, turn on tethering on iPhone or Android, and prevent a laptop from consuming the plan unexpectedly.
Read article